Did you know that you can navigate the posts by swiping left and right?
Getting started with Github
03 Oct 2019
. category:
tutorial
.
#git
#github
Learn-Git-Github
A beginner’s Git and GitHub tutorial. Head over to GitIntro for the complete repository.
Source: GitHub Guides
GitHub:
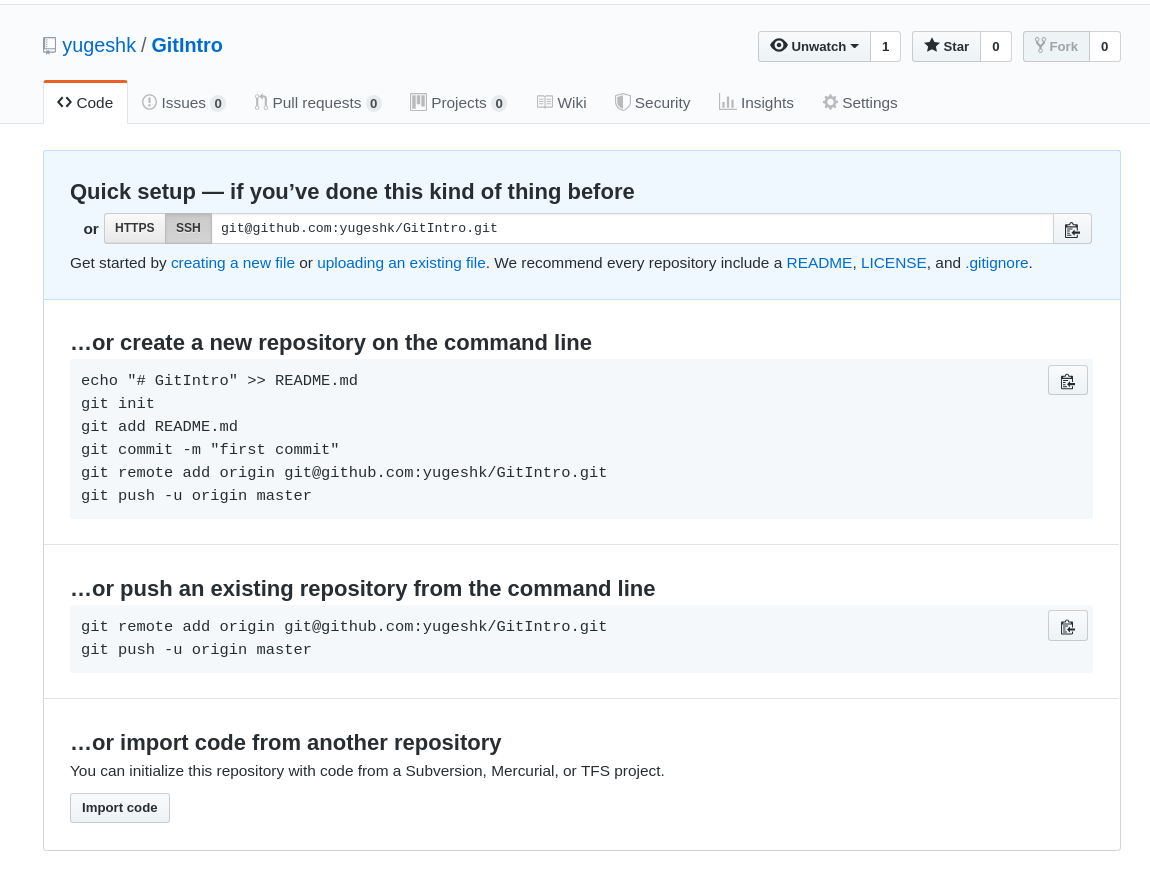
I’m keen not to overwhelm you, so I’ve made an annotated screenshot of a GitHub project, so that you can quickly become familiar with the most common features. Yes, GitHub is more than simply a project repository, but that’s where you’re likely going to spend most of your time on the site.
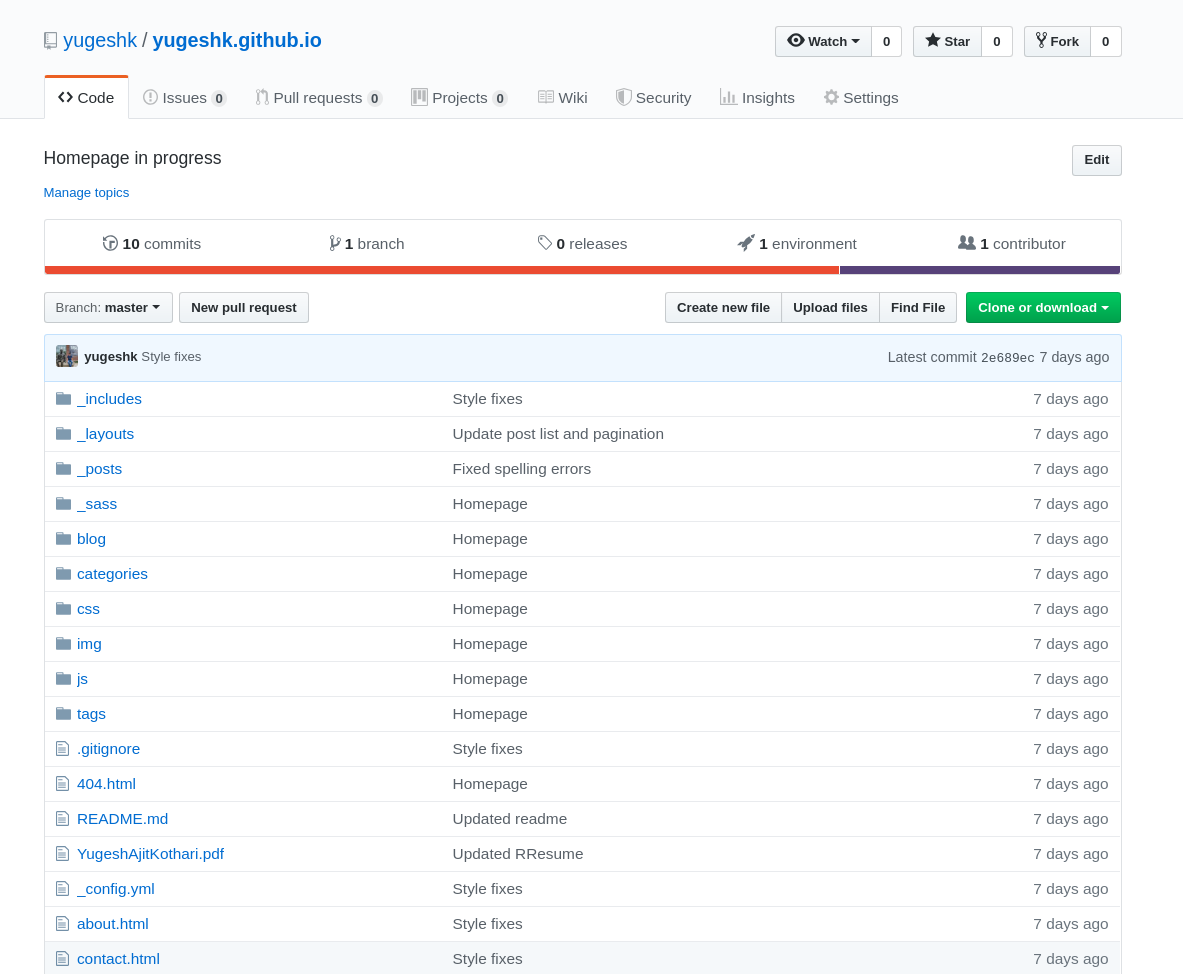
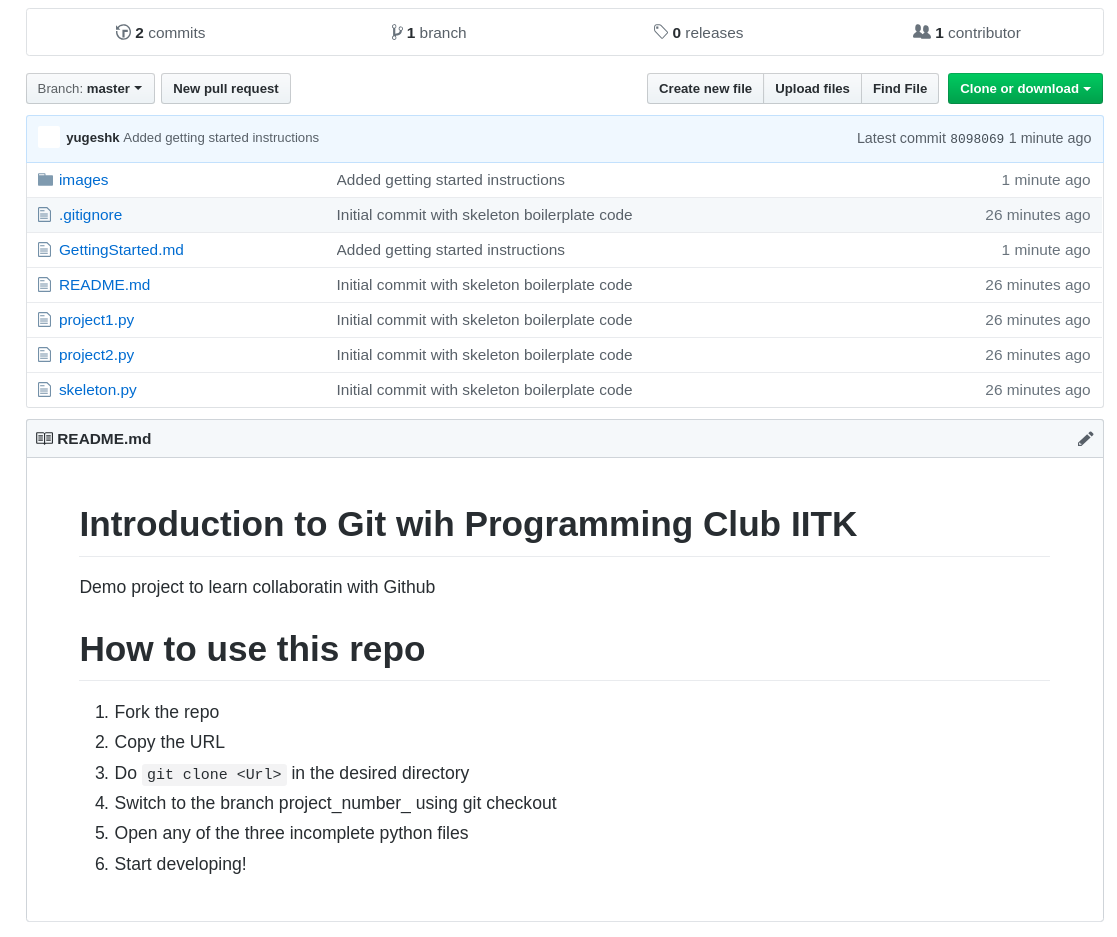
What you see is a project homepage. Across the top, are listed the project name, how many people are watching it, how many people have given it a vote of confidence by starring it, and how many people have forked it, perhaps to make changes of their own to it and contribute to it. Then, there’s the number of commits to the current branch, the number of branches, the number of releases, and the number of contributors. Next, there’s a listing of the top-level files in the project, and when the last commit was. You also have key navigation options. These are:
- Code: The view you’re on by default, showing the files in the project.
- Issues: A simple but effective issue tracker, whether you and the team want to report bugs and problems, make requests for new features, or other such tasks.
- Wiki: A simple but effective wiki for documenting the project in more detail than a standard
README.mdfile allows. - Pulse: A summary of statistics about the project, including open and closed issues. Here is where you find out how active the project is.
- Graphs: A timeline of commits, followed by a breakdown of commits by individual contributor. You can then use the available tabs to look at the project activity in detail, based on a series of key metrics including code frequency, least to most active days for contributions, and so on.
Finally, there’s the link to the repository URL. If you want to clone this project, this is the URL you pass to git clone.
Now let’s look at the commit history, by clicking commits. There you see the commits in reverse chronological order. On the left, you see the commit short description, the author’s username, and when the commit was made. On the right, the short version of the commit hash, and a link to the commit.
Click the commit hash, so you can see the changes it contains. In this example, we see a side-by-side diff of the project’s _layouts/blog.html. You can see on the left what was removed from the previous version, and on the right what was added to this version. Above each commit, on the lefthand side, you see a short summary of the changes, which shows both the total changes (in this case 1) and a visual representation. Now here’s some fun.
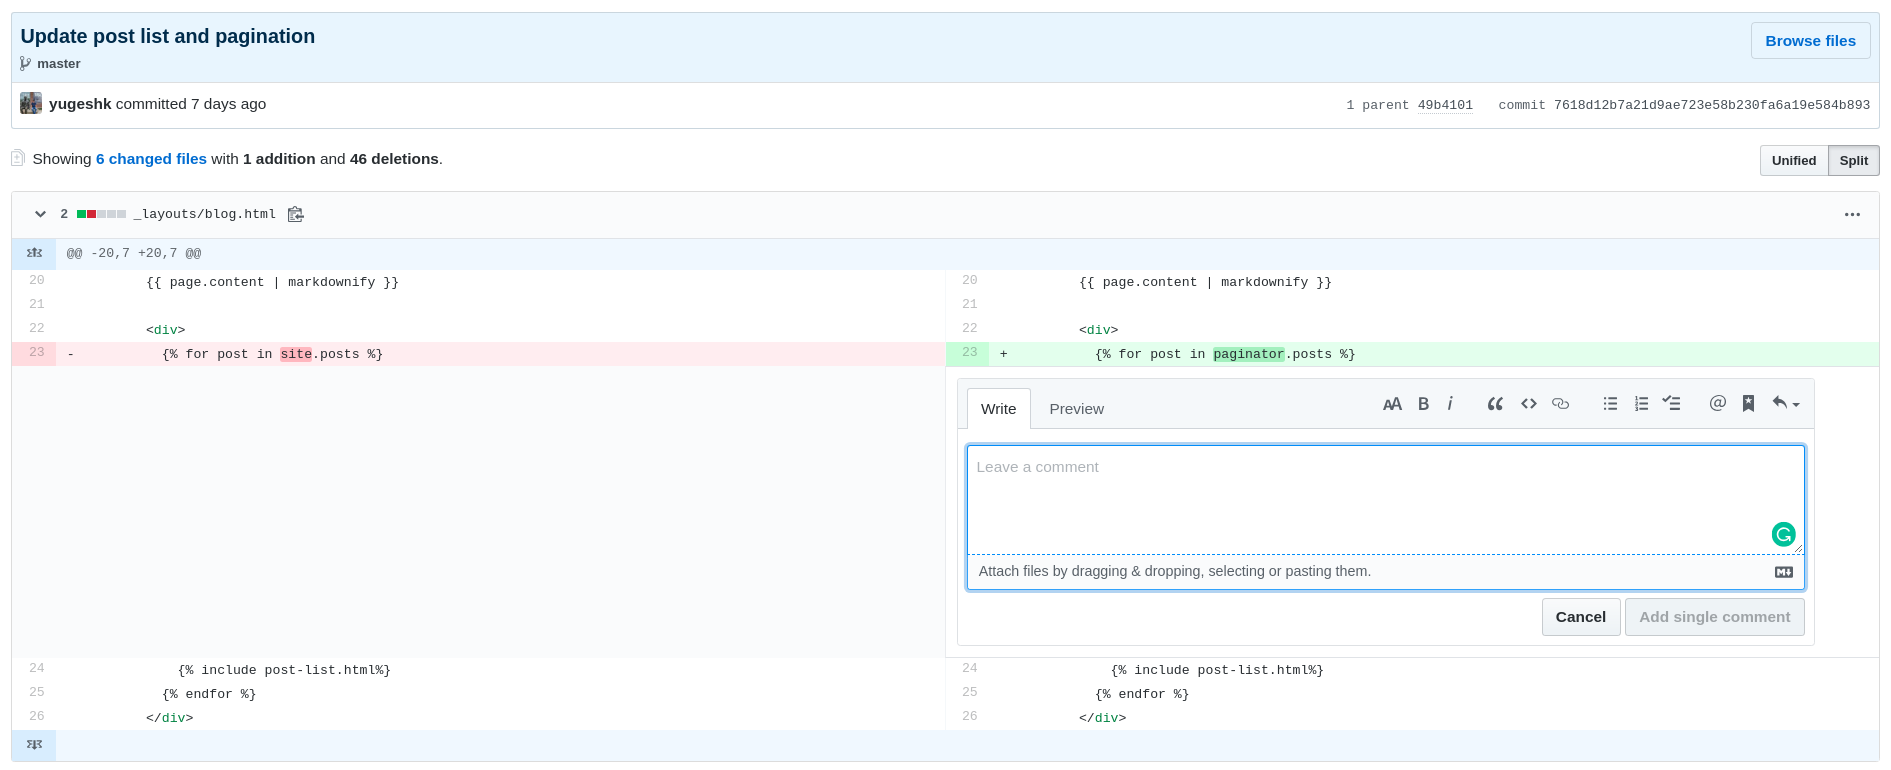
Mouse over either the left or right sides. Notice a blue plus icon appears? If you click on it, you can comment on the code at that point in time. This is an excellent feature, as it makes GitHub a truly collaborative coding experience. One last thing, want to comment on the commit as a whole? There’s a comment box at the bottom of every commit. Click through the other tabs, and see what you find in each.
Note: Open source enthusiasts who are familiar with How to create project and repository can skip the content below and learn more about git
Adding Project to GitHub
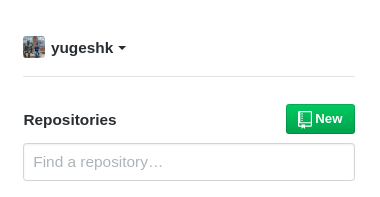
Now lets move an existing project to Github. To create a new project, click the new button on the homepage.
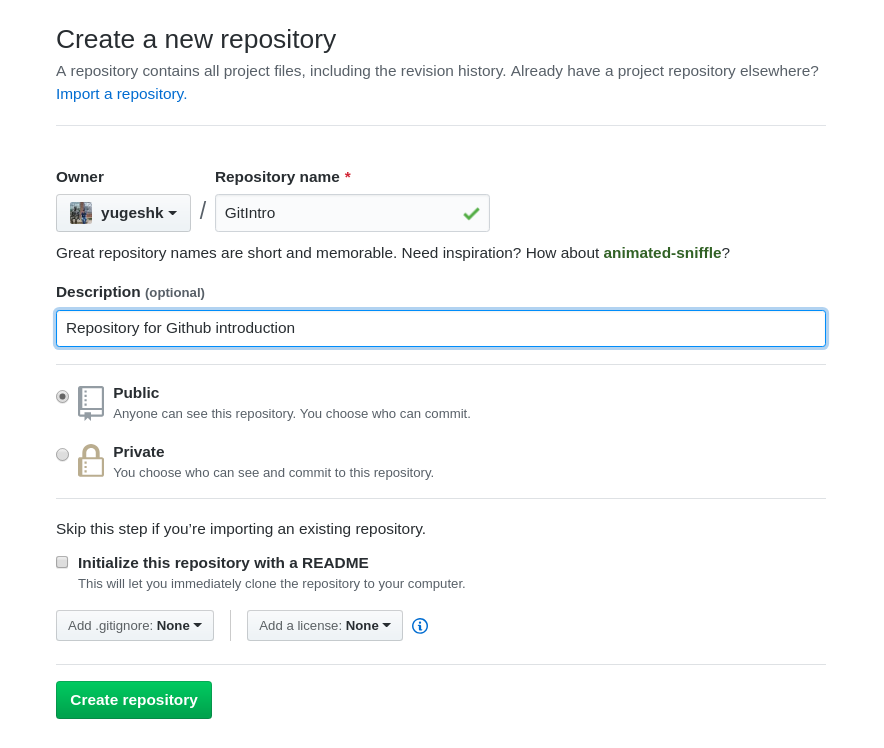
In the Repository name field, add a name. It needn’t be special: “first-project” works. Give it a description if you want. Perhaps “My first GitHub project.” Then, leave the project with the default of public. That way anyone can find it if they search for it. Finally, click the Initialize this repository with a README checkbox, and leave the two select boxes set to None. Now click Create repository.
You’ll now be taken to the quick setup page. This page gives you a host of post-setup information about integrating your new GitHub project with your existing local repository, which we’ll do, or cloning it fresh. We’re going to add GitHub as a remote for our project. To do that, copy the first line under …or push an existing repository from the command line, and paste it in the terminal where you’ve been working up till now.
Doing so won’t display any output. Now copy the second line and paste it into your terminal. This will push our changes to GitHub. You’ll see output, something like that shown in the screenshot below. Now go back to GitHub in your browser and refresh the page. You’ll see your README.md and other files, and the contents of the README.md rendered at the bottom of the page.
Now, Since you are familiar with How to create project and repository learn more about push and pull requests
For more resources please visit:
- Interactive online tutorial
- GitHub Guides
- Udacity Free Course
- How to Contribute to Open Source
- Github for Beginners
- Git Tutorials - thenewboston
- Git Flow
- Slides from MIT SIPB Understanding Git Class
- Try Git
- Code School
- Git Beginner’s Guide for Dummies
- CodeCademy
- Installing Git
The Bottom Line
And that’s the basics of how to work with Git and GitHub. I hope you’ve seen that, whilst there are quite a lot of concepts to take in, once you’ve gotten a handle on the basics, you can pick it up reasonably quick, with some patience. There’s so much more to cover and there’s the opportunity to do so here. But one thing about both Git and GitHub—the community behind them is extremely supportive and generous in the sheer volume of information contributed. You’ll be in good hands.

Yugesh is a first year PhD student at EPFL. His research interests include software systems, program verification and programming languages.